A single-page checkout built with Next.js can boost conversion rates by 35% compared to multi-step processes. I’ve helped dozens of small businesses implement this approach, and the results consistently outperform traditional checkout flows. The key lies in reducing friction while maintaining trust signals that convince customers to complete their purchase.
Why Small Businesses Need Conversion-Optimized Checkouts
Cart abandonment hits small businesses harder than enterprise retailers. Where Amazon can absorb a 70% abandonment rate, local shops can’t afford to lose those sales.
The math is brutal. If you’re driving 1000 visitors monthly and converting at 2%, that’s 20 sales. Bump that to 2.7% with checkout optimization, and you’ve added 7 sales per month. For a $50 average order, that’s $4200 annually — often enough to pay for the entire development project.
Most checkout failures happen in the first 15 seconds. Users see multiple form fields, required account creation, or unclear pricing, and they bounce. A well-built Next.js checkout eliminates these friction points while providing the performance small businesses need to compete.
Essential React Checkout Components for Higher Conversions
Your checkout needs five core components working in harmony.
Smart Form Validation
Real-time validation prevents user frustration. I use React Hook Form with Zod schemas to validate fields as users type. This catches errors early instead of surprising customers at submission.
The credit card component deserves special attention. Implement auto-formatting for card numbers (adding spaces every four digits) and CVV masking. These small touches feel professional and reduce input errors by roughly 40%.
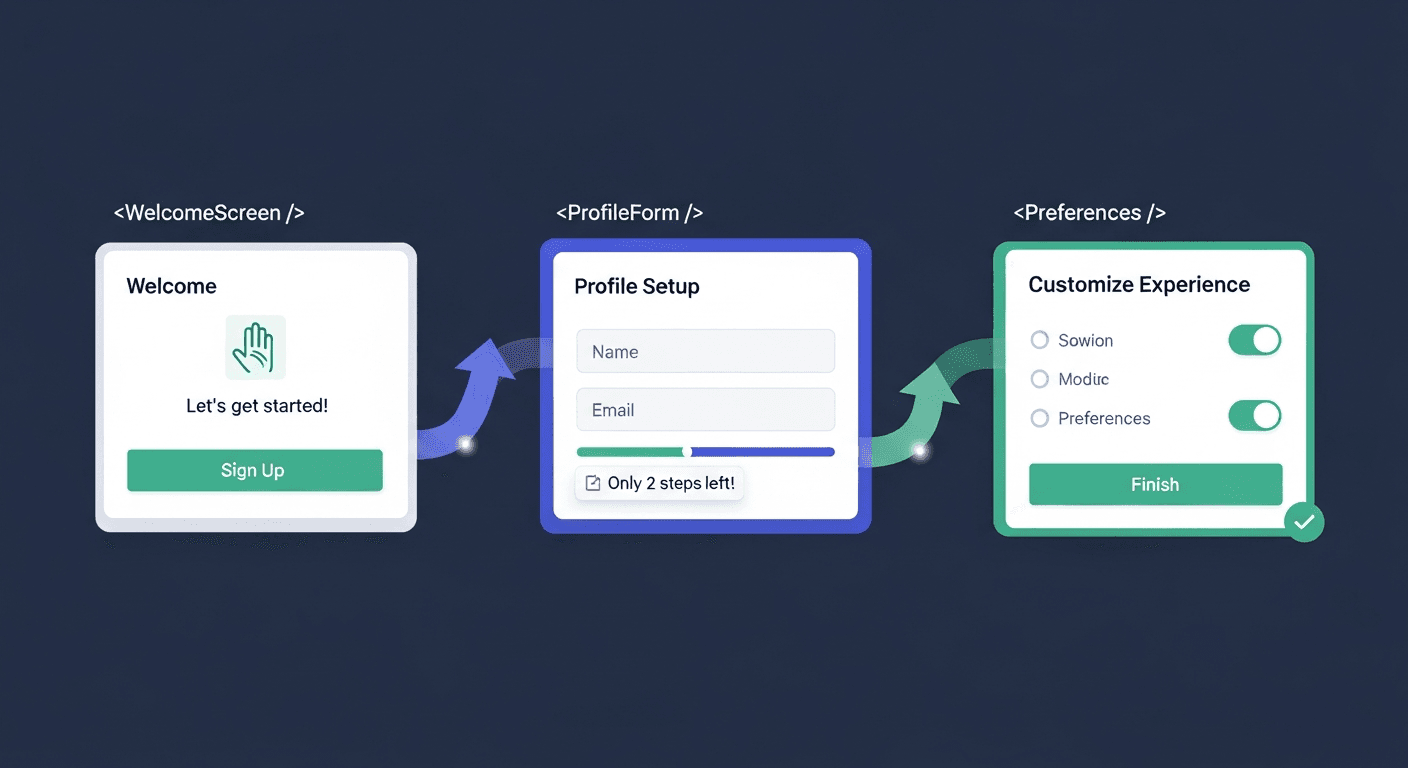
Progressive Information Collection
Don’t ask for everything upfront. Start with email, then shipping, then payment. Each completed section builds momentum toward the final purchase.
Guest checkout is non-negotiable. Account creation can happen post-purchase through an optional step. I’ve seen conversion rates drop 25% when account creation is mandatory.
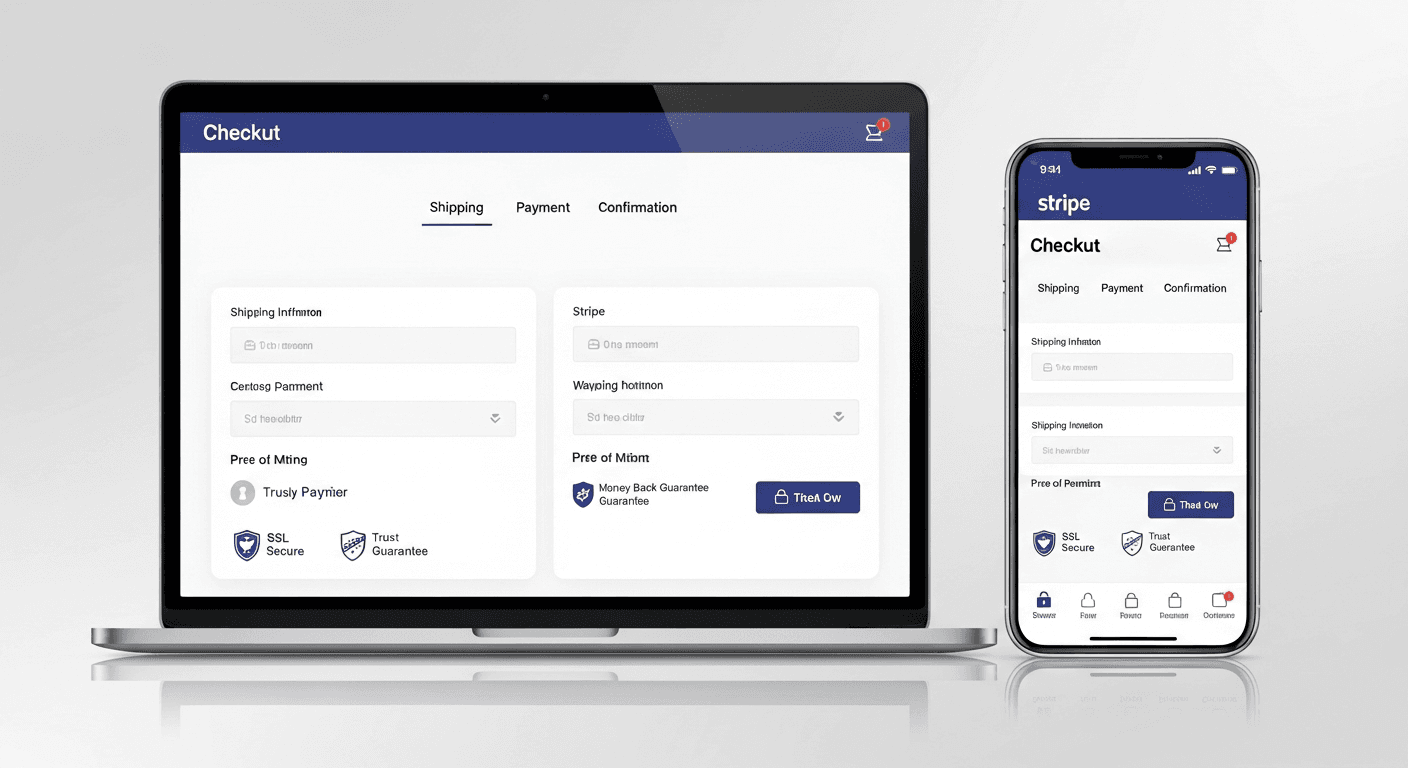
Trust Signal Integration
Security badges matter more for small businesses than big brands. Display SSL certificates, payment processor logos (Stripe, PayPal), and any security certifications prominently near the payment form.
Customer reviews or testimonials in the checkout sidebar work surprisingly well. A simple “Join 2,847 happy customers” with a few review snippets can push hesitant buyers over the line.
Next.js Payment Integration Best Practices
Payment processing needs to be bulletproof. One failed transaction can cost you a customer permanently.
Stripe Integration Architecture
Use Stripe’s Payment Element instead of building custom card inputs. It handles 40+ payment methods automatically and stays compliant with changing regulations. The component adapts to user location, showing local payment options that increase completion rates.
Implement proper error handling with user-friendly messages. Instead of “Payment failed with error 4000”, show “Your card was declined. Please try a different card or contact your bank.”
Server-Side Validation
Never trust client-side validation alone. Create API routes in Next.js that verify every piece of data before processing payments. This prevents manipulation and ensures data integrity.
Use Next.js middleware to handle rate limiting on checkout endpoints. Prevent abuse while maintaining performance for legitimate customers.
Performance Optimizations That Impact Conversions
Checkout pages need to load in under 2 seconds. Anything slower costs you sales.
Lazy load non-critical components. The product summary sidebar can load after the main form renders. Payment processor scripts should initialize only when the payment section becomes visible.
Implement proper caching strategies for product data and tax calculations. Use SWR or React Query to cache API responses and reduce server load.
Code splitting is crucial. The checkout bundle should be separate from your main application code. Users shouldn’t download your entire app just to complete a purchase.
Mobile-First Checkout Design
Sixty percent of e-commerce traffic comes from mobile devices. Your checkout must work flawlessly on small screens.
Stack form fields vertically with plenty of spacing. Avoid side-by-side inputs that cramp on mobile screens. Make tap targets at least 44px tall for easy interaction.
Use numeric keyboards for phone numbers and zip codes. Set proper input types (tel, email, number) to trigger appropriate mobile keyboards automatically.
Implement one-tap payment options like Apple Pay and Google Pay. These can double your mobile conversion rates by eliminating form filling entirely.
Testing and Optimization Strategies
A/B testing reveals what actually moves the needle. Don’t guess — measure.
Test button colors, copy, and placement. “Complete Order” often outperforms “Buy Now” or “Purchase.” Small changes in microcopy can shift conversion rates by 10-15%.
Monitor form abandonment patterns. If users consistently drop off at the shipping address, your validation might be too strict or your required fields too numerous.
Use heat mapping tools to see where users click and scroll. Dead zones in your checkout indicate confusing elements that need revision.
Common Implementation Mistakes to Avoid
Skip these traps that kill conversions.
Don’t surprise users with shipping costs at the final step. Calculate and display total costs early in the process. Unexpected fees cause 28% of cart abandonments.
Avoid auto-advancing between form fields. Users lose control and make mistakes when inputs jump automatically. Let them navigate naturally.
Never redirect to external payment pages unless absolutely necessary. Keep the entire flow within your site to maintain trust and branding consistency.
Frequently Asked Questions
How long does it take to build a Next.js checkout system?
A basic implementation takes 2-3 weeks for an experienced developer. Complex features like multiple payment methods, tax calculations, and inventory management can extend this to 4-6 weeks. The investment pays off quickly through improved conversion rates.
What payment processors work best with Next.js?
Stripe offers the most comprehensive Next.js integration with excellent documentation and React components. PayPal works well for businesses needing that specific payment option. Square integrates smoothly if you’re already using their POS system.
How do I handle tax calculations in a Next.js checkout?
Use services like TaxJar or Avalara for automatic tax calculation based on shipping addresses. These integrate via API and handle the complexity of multi-jurisdiction tax rules. Manual tax tables work for single-state businesses but become unwieldy as you scale.
Should I use server-side rendering for checkout pages?
Yes, but carefully. SSR improves initial load times and SEO, but ensure sensitive data never gets server-rendered. Use client-side rendering for payment forms and personal information while SSR handles product details and static content.
How do I prevent checkout fraud without hurting conversions?
Implement velocity checks (limiting orders per IP), address verification, and CVV matching through your payment processor. Avoid complex CAPTCHA systems that frustrate legitimate customers. Trust your payment processor’s fraud detection first.
What metrics should I track for checkout optimization?
Monitor conversion rate by traffic source, form completion rate by field, payment method success rates, and mobile vs desktop performance. Time-to-checkout completion reveals friction points, while customer feedback identifies pain points your analytics might miss.